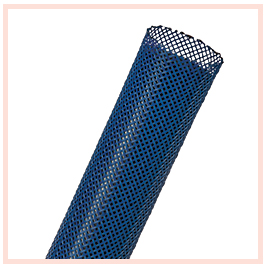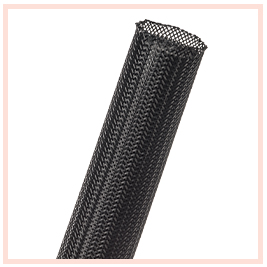
Expandable braided sleeving is a useful cable management tool for nearly any wire harness application. There are numerous braided sleeving categories that make it suitable for a range of environments, whether for home, office, outdoors, vehicle engines, entertainment centers, aviation, electrical insulation, current transmission, electromagnetic interference (EMI) shielding, safety protection, and other purposes.
Most expandable braided sleeves like Flexo® PET are not designed for scissor cutting though because of their weave, which is a tubular structure with gaps. This construction helps the sleeving to expand and cover oversized wire bundles and connectors. When expandable sleeving is clipped with scissors, individual filaments in the sleeve are no longer bound together, which can cause the sleeving ends to come apart.

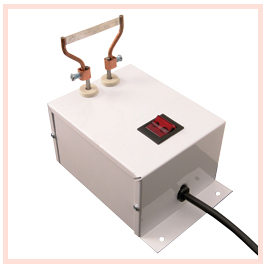
One of the most effective ways to prevent expandable sleeving from fraying is to use a hot knife, which simultaneously cuts the sleeving and fuses its fibers together. For example, while Flexo® F6® split tube, semi-rigid braided sleeving is one sleeve that can be cut with scissors, it is best handled with a hot knife.
It is advisable to take a practice run on a piece of scrap sleeving before you begin cutting. Once the hot knife is heated to the proper temperature, be sure you are working in a well-ventilated area away from flammable items. Fumes can be an effect of trimming sleeving with a hot knife, and it is important to avoid inhaling them. Eye protection should also be worn to safeguard against splatter.
YOU SHOULD NEXT
- 1. Measure the sleeving to length on the planned application, keeping the material relaxed during the process. It is important to note the sleeving will likely foreshorten if it has reached its maximum expansion when it is slid over bundles and connectors. Placing sleeving over the application will help you determine what the exact length should be, ensuring the sleeving is not cut too short.
- 2. Mark the area you would like to trim with a visible line, using a pen or marker.
- 3. Remove the sleeving from the application, holding it on each side of the marked location.
- 4. Slide the sleeving down in a single motion along the blade. Do not to move too quickly or the sleeving can drag and pull; and if it is done too slowly, it can be fused shut. Handle both the sleeving and blade carefully, as each of these items will be extraordinarily hot.
- 5. Use a surface where it is safe to place this heated item, to create an inverted funnel and soft flare. This is done to make sleeving easier to apply. You can also shape the newly-sheared sleeving into a soft flare with a pair of needle-nose pliers or scissors.
- 6. Begin the installation over your wire harness, pushing the flared end over the wires, then “walk” the sleeving from behind onto the bundle.
- 7. Run your hand over the harness to smooth the sleeving.
- 8. Optionally terminate the sleeving end with tape, cable ties, or heat shrink tubing.

Some sleeves are designed with fray resistance — like Flexo® PET Plus, Flexo® FR Plus, Flexo® Clean Cut®, Flexo® Clean Cut Heavy Duty, and Clean Cut® Flame Retardant — enabling them to be cut easily with scissors, without the ends unraveling. Fray resistant sleeves, which are helpful in situations where a hot knife cannot be used, may have a tighter weave, reinforced edges, or special materials within the sleeve to stop it from coming apart.
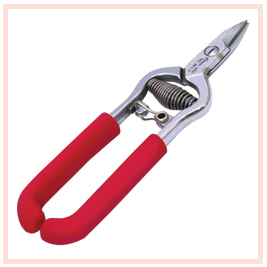
There are some types of braided sleeves that should be snipped with tools like heavy duty serrated edge scissors from Klein Tools®. They work well when trimming fray resistant sleeves, and these stainless steel scissors can additionally snip metal and shielding sleeving, like Flexo® Stainless Steel Braided Sleeving.

The Techflex® Economy Kevlar® Shears and Heavy Duty Kevlar® Shears cut through the heat resistant synthetic fibers of Flexo® Kevlar® Expandable Braided Sleeving, and Aramid Armor® braided sleeving, a sleeve that is five times stronger than steel.


